
To choose a car rack for a heavy e-bike, check more than the number printed beside "capacity" on a rack listing. The bike must fit its individual tray, all loaded bikes must fit the rack's total allowance, and the rack plus bikes must stay within the applicable hitch/receiver and vehicle limits. Tire width, wheelbase, and the way the rack touches the bike also have to work. If any required rating or fit is unknown, the bike-rack-vehicle combination is not verified yet. I would not buy the rack or drive with the bike until those blanks are resolved.
Define the bike and the load you will actually carry
Write down the exact bike model and version, not just "fat-tire e-bike." Identify the transport configuration: battery in or out, attached bags and accessories, and anything else that changes the weight or how the rack clamps. Remove a battery for transport only when the bike maker permits and explains it. Do not subtract a guessed battery weight from a product-page figure. Weigh the bike in the configuration you will carry or obtain a confirmed figure for that exact setup, then record how you established it.
Do the same for a second bike. A rack described as "two-bike" is not automatically able to carry two heavy e-bikes, or even one heavy bike on either tray. Some makers give different limits by tray, rack configuration, receiver size, or vehicle use. Use the manual for the specific rack and all installed add-ons. An adapter, extension, ramp, or extra tray may change what is allowed; confirm its instructions as part of the same setup.
Next identify the vehicle make, model, and year, the installed hitch and receiver, and the rack's required connection. A receiver opening that physically accepts the rack does not by itself establish a permitted load. Read the vehicle and hitch documentation for the actual installation. Ask the rack maker and hitch installer when a rating is unclear, especially on vehicles where the allowed carrier load differs from a towing figure.
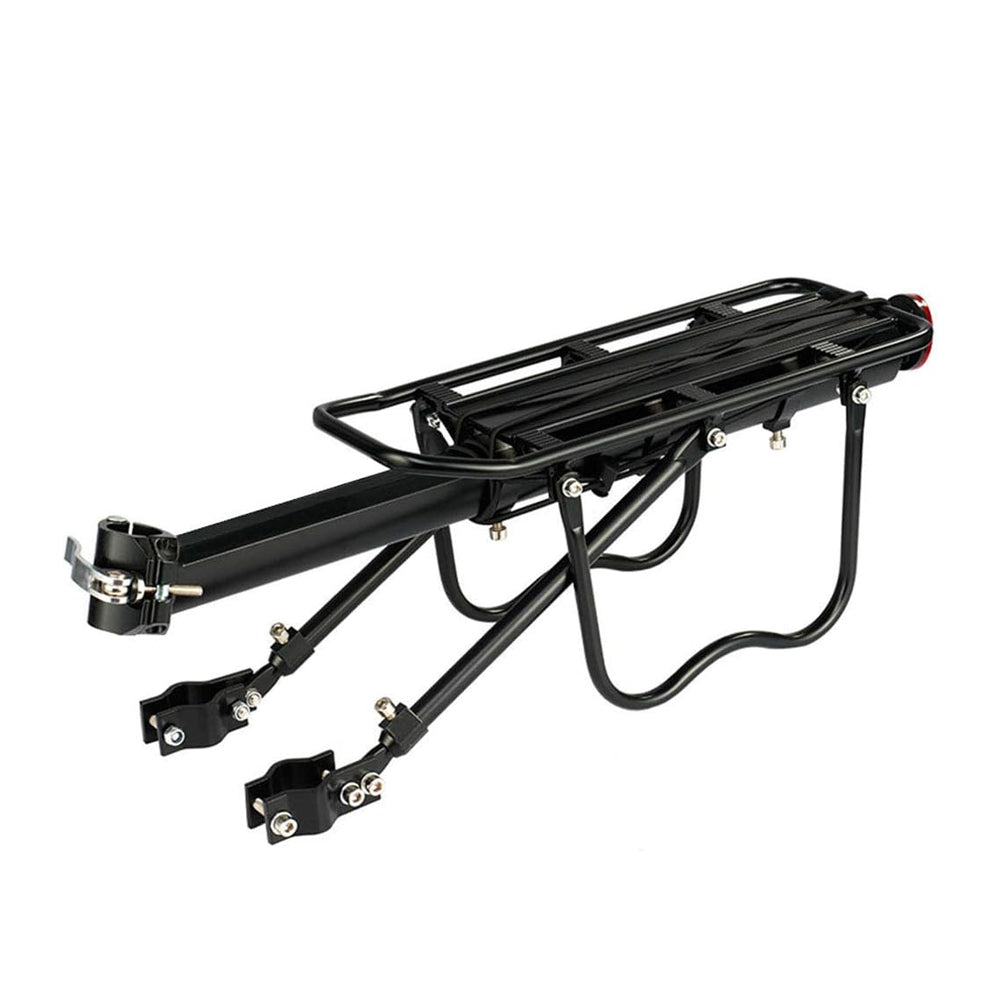
Keep four weights distinct. Bike weight is each bike as transported. Rack weight is the carrier and any installed add-on that the hitch supports. Bike load on the rack is the sum of the transported bikes, subject to the rack maker's definition of its total capacity. Load at the vehicle connection includes the rack and carried bikes and must be assessed under the applicable hitch and vehicle instructions. A rear cargo rack mounted on the bicycle has an entirely different rating. It says nothing about whether a car hitch rack can carry the bicycle.
Fill in the four-limit pass/fail worksheet
Print this table and enter the value, unit, and original source for each limit. Use the rack label and current manual, the hitch documentation, and the vehicle manual for the exact installation. For each row, mark pass only when the relevant actual load is no greater than the applicable limit and the equipment maker permits that use. "Unknown" means you still have a question to resolve, not a narrow pass.
| Limit to check | Original manual or label, page | Rated limit | Applicable load | Pass, fail, or unknown |
|---|---|---|---|---|
| Each loaded tray or bike position | ____________ | ______ lb | Bike A ____ lb; Bike B ____ lb | ____________ |
| Whole rack, for this tray and hitch configuration | ____________ | ______ lb | All bikes together ____ lb | ____________ |
| Installed hitch/receiver and permitted carrier use | ____________ | ______ lb or maker's stated carrier limit: ______ | Rack + all bikes + add-ons ____ lb | ____________ |
| Vehicle limit for this connection and use | ____________ | ______ lb or maker's stated carrier limit: ______ | Rack + all bikes + add-ons ____ lb | ____________ |
Bike A: ____________________. Bike B, if carried: ____________________. Rack and add-ons: ____________________. Vehicle and installed hitch: ____________________. Battery configuration permitted by bike maker: ____________________. Who supplied each answer and when: ____________________.
Check the rack manual's definition of "total capacity." It may describe carried bicycles rather than the rack's own weight. Do not add the rack's weight to the bike-only rack limit unless the maker defines it that way; do include the rack at the vehicle connection where the hitch and vehicle instructions require the complete supported load. If two documents give different applicable limits, use the more restrictive one while seeking clarification. Do not substitute a tow rating for a hitch-mounted carrier allowance. The levered load and installation rules for a bike rack may be addressed separately by the equipment makers.
Here is the arithmetic without invented product ratings: Bike A weight plus Bike B weight equals the bike load on the rack. That sum must fit the rack's stated whole-rack allowance, and each bike must separately fit its assigned tray. Rack weight plus all bikes and installed add-ons equals the load to compare with the applicable hitch and vehicle carrier limits, following each maker's definitions. Do not average two bike weights across trays. A light bike on one tray cannot make an overweight bike on the other tray pass its individual limit.
Run a separate fit check
Passing the weight table does not prove that the bike will stay put. Check the rack maker's fit instructions against the bike itself, and write down the result here:
| Fit point | Bike and rack evidence or measurement | Pass, fail, or unknown |
|---|---|---|
| Tire width and wheel size accepted by trays/straps | ________________________ | __________ |
| Wheelbase within supported range | ________________________ | __________ |
| Fenders, racks, and permitted wheel or frame contact | ________________________ | __________ |
| Spacing between loaded bikes and vehicle | ________________________ | __________ |
| Ground clearance, driveway angle, lights, and plate visibility | ________________________ | __________ |
Frame-contact restrictions matter when a rack arm presses on a tube, battery housing, cable, or fender it was not designed to hold. A wheel-hold rack still needs compatible tire and fender geometry. Check whether pedals, bars, or accessories on two bikes interfere with one another or the vehicle. If the rack needs an accessory to fit a wide tire or a particular frame, verify that accessory's compatibility and any changed load limit in the maker's instructions. A photo of a similar bike on a rack is not a fit certificate for yours.
If you're comparing Qlife Spark models for a rack, our Spark, Spark D2, and Spark Plus fit guide identifies the tire formats shown on their listings. Use that as a question to check against the rack's tray, not as proof that a particular bike fits a rack.
Ground clearance deserves a real-world check. The end of a loaded rack may sit lower relative to the road at a steep driveway or dip, and the loaded bikes must not obstruct required lights or the plate contrary to the rules that apply where you drive. Confirm vehicle access too: a tilt or swing feature might have a different permitted use while loaded, and you should not discover that after mounting the bike.
Can you load it and secure it as instructed?
A setup can pass every weight rating and still be unusable if you cannot lift the bike onto its tray. Check the tray height on your vehicle and the lift you can manage repeatedly, not just once in a showroom. If you need a ramp, make sure the rack maker supports that ramp and method for your rack and vehicle. Plan where you will stand and how you will hold the bike while loading. Do not lean the bike against an unsecured rack while searching for a strap.
Before travel, follow the rack maker's full attachment and strap sequence. Confirm the rack is installed as specified, the bikes are held at the intended contact points, loose accessories are handled according to the bike and rack instructions, and nothing can swing into the vehicle, road, or exhaust. Recheck the setup at the interval the rack maker directs and after a stop if anything shifts. If a strap, clamp, tray, or hitch connection is damaged or uncertain, stop and correct it before driving. Do not treat a cable lock as a substitute for a load-bearing strap.
Qlife riders can use our folding e-bike buying guide when the alternative is fitting a folded bike inside a vehicle, where opening size and handling matter more than hitch-tray fit. Our bike fit and weight-capacity guide explains on-bike rider and cargo loads; those numbers must not be confused with car-rack ratings. For any Qlife model, check the matching model manual and confirm the exact transport configuration before entering a weight in this worksheet.
My verdict is deliberately strict: buy and drive only when all four load rows pass, every required fit point passes, and you can actually load and secure the bike according to the rack maker. A failed row means choose another rack, hitch, vehicle, or transport method. An unknown row means do not purchase or drive yet; get the original rating or a direct manufacturer answer first. That is less exciting than a "fits most e-bikes" sticker, but it is the decision your bike and vehicle need.
Share:
Rear Flat on a Hub-Motor E-Bike: What to Check and When to Call a Shop
How to Lock an E-Bike for Work and Errands