
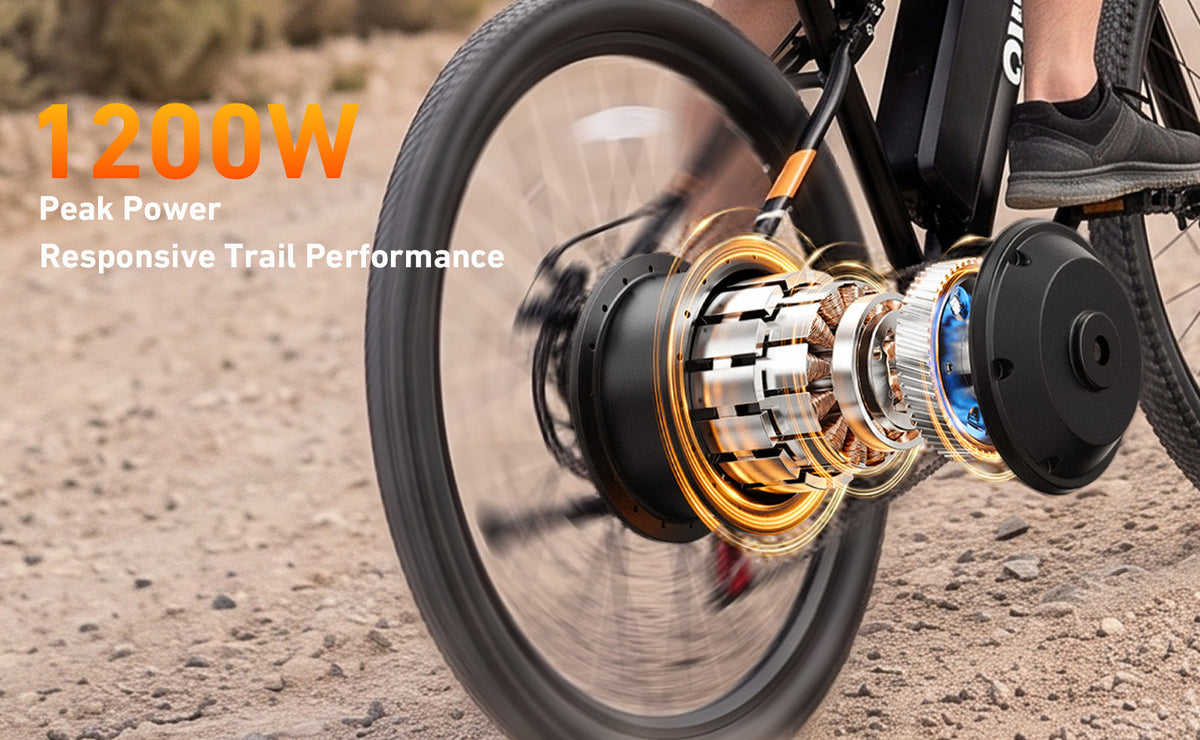
For a rear hub motor e-bike flat tire, stop riding, get clear of traffic, and turn the electrical system off. Check whether the flat is on the wheel that houses the motor. From there, you have three paths: a repair the exact model's instructions permit without removing the wheel, a documented wheel procedure that you are equipped to follow, or a qualified shop or manufacturer support. If you cannot identify the motor cable, connector, or axle hardware, the third path is the right one. A rear wheel that is merely "almost back in" is not ready to ride.

Identify what failed before touching the wheel
A soft tire that loses air and a tire with an obvious cut both point you toward tire work, but the damage determines whether a simple tube repair is even useful. Look at the tread and sidewall without putting your fingers near a moving wheel. If the casing is torn, the bead looks displaced, the rim is damaged, or the valve is broken, do not treat the problem as a tiny puncture you can just inflate away. A wheel that wobbles, rubs a brake, or shifts at the axle may have a mechanical problem as well as, or instead of, a flat.
Record the brand, exact model, version, and the manual you are using. A bike's marketing name alone may not tell you which hub, axle fastening, or brake setup is on the wheel in front of you. For a Qlife bike, start at our model manuals page and match the actual bike. If the relevant procedure is absent or the illustrations do not match, ask Qlife support or a shop before loosening anything. A generic video can explain why a hub cable matters, but it cannot establish the hardware order for your wheel.
Take a breath before reaching for tools. On a roadside shoulder, poor light, a bike that will not stand securely, or traffic close to your work can turn an ordinary repair into a bad decision. Moving the bike to a stable place or arranging a ride is progress. It is not giving up.
Use the rear-flat decision tree
Start at the top and proceed only when the answer is confirmed. "I think so" belongs in the no or unknown branch. This table does not authorize wheel removal; it tells you when the exact manual or a professional must take over.
| Check | Yes | No or unknown | Your note |
|---|---|---|---|
| Is the bike in a safe, stable place with the system off? | Inspect the tire and wheel. | Stop work. Move to safety or arrange transport. | __________ |
| Is it clearly a tire air-loss problem, with no wheel, rim, or brake concern? | Check the exact model's repair instructions. | Stop. Ask support or a qualified shop to diagnose it. | __________ |
| Do the model's instructions permit your intended repair without removing the wheel? | Follow only that approved method; then complete the before-riding checks below. | Consider wheel removal only with a matching documented procedure. | __________ |
| Can you positively identify the motor connector and the full cable path, with no cable under tension? | Check the manual's axle and reassembly information. | Stop work. Contact support or a qualified shop; do not pull the cable. | __________ |
| Does the matching manual document this axle and any torque-retention hardware? | Assess whether you can perform every documented step. | Stop work. Contact support or a qualified shop; do not guess the hardware order. | __________ |
| Do you have the tools, instructions, and ability to finish the work and verify the brake? | Use the model-specific procedure and perform all checks before riding. | Stop work and take the bike to a qualified shop. | __________ |
The "without removing the wheel" path exists only if the bike maker's instructions allow the particular method and the tire damage is suitable for it. Do not assume a sealant, patch method, or split-tube product is approved simply because it is sold for e-bikes. If the tire is badly cut, the rim is suspect, or the repair will not hold air, you still need a proper repair or replacement.
The other branch is narrower than it sounds. Being able to see a wire does not mean you have found the disconnect point, and identifying a nut does not tell you how the axle is retained against motor torque. If the cable is taut, disappears into an unfamiliar cover, or seems trapped by the wheel, stop. Do not use the wheel's weight to pull on it. The same stop applies if the reinstalled wheel does not sit as documented or brake alignment is uncertain. Arrange help rather than taking a short test ride to "see if it settles."
Give the shop a useful handoff
If you are calling for help, send a small evidence set instead of a long theory about the fault. Photograph the bike's model label, the tire sidewall and damaged area, both sides of the rear axle, and the cable route as it sits untouched. Include an overall photo showing the wheel in the frame. Tell the shop whether the tire lost air suddenly or slowly, whether the wheel was already removed, and whether anything was unplugged. If an axle part has come loose, keep it with the bike and tell the shop; do not invent an order from memory.
Here is a printable repair handoff you can keep with those photos:
| Brand, exact model, version, manual link | ________________________________ |
|---|---|
| Tire size printed on sidewall | ________________________________ |
| Air-loss symptom and visible damage | ________________________________ |
| Wheel, cable, or axle parts already touched | ________________________________ |
| Photos attached: model, sidewall, both axle sides, cable route, damage | ________________________________ |
| Shop or support contact and next step | ________________________________ |
I would mention any earlier flats at the same wheel too. A second puncture soon after a repair calls for a closer look at the tire, rim interface, and what caused the first one. Replacing a tube without finding a remaining sharp object can put you back on the roadside.
If you have a matching procedure, follow its whole sequence
A proper model-specific procedure should tell you how to isolate power, manage the motor cable, identify and retain axle hardware, repair the tire, reassemble the wheel, and check the brake and wheel afterward. Confirm that each category is covered before beginning. Do not borrow a connector location, axle order, or tightening value from another bike. Keep track of the exact instructions and parts for your version; if a step in the manual does not match what you see, stop and ask for clarification.
A roadside kit is not a substitute for that information. You might have a pump and the right tire supplies yet still lack what is needed to reinstall this hub wheel correctly. In that case, leave the assembly alone and arrange transport. If you would use a hitch carrier for a heavy bike, check the full setup with our car-rack capacity worksheet before loading it.
A shop can usually give a more useful answer when you tell it which step or component is uncertain rather than saying only "rear tire issue." If you have not found a shop that accepts this work, use our shop-and-seller service questions to ask about the exact rear wheel.
Check it before you ride again
Whoever performed the repair should check that the tire is properly seated and inflated according to the applicable tire and rim instructions, that the wheel and axle are secure as specified for the model, and that the cable is correctly routed, connected, and clear of moving parts. Check brake operation and wheel movement with the bike stationary. If the brake rubs unexpectedly, the wheel shifts, or the cable is strained, do not ride. Get the repair checked.
Once the stationary checks pass, the person responsible for the repair can make a controlled, low-speed check in a safe area, watching for loss of air, abnormal movement, or brake problems. Stop immediately if any appear. This is a verification step after a completed repair, not a way to diagnose a loose wheel at speed. Repeated flats, damaged rim or tire, and abnormal wheel movement deserve shop diagnosis even if another tube would fit.
For the routine checks that may catch tire and brake trouble earlier, see our e-bike maintenance checklist. Our fat-tire pressure guide explains the variables behind pressure choice, but use the instructions and limits that apply to the actual tire and rim on your bike. The useful verdict here is simple: if you cannot establish a safe, documented path from flat tire to verified wheel and brake, get help rather than riding an uncertain repair.
Share:
Will a Bike Shop Service an E-Bike Bought Online? Questions to Ask Before You Buy
How to Choose a Car Rack for a Heavy E-Bike: Bike, Rack, Hitch and Vehicle Limits