
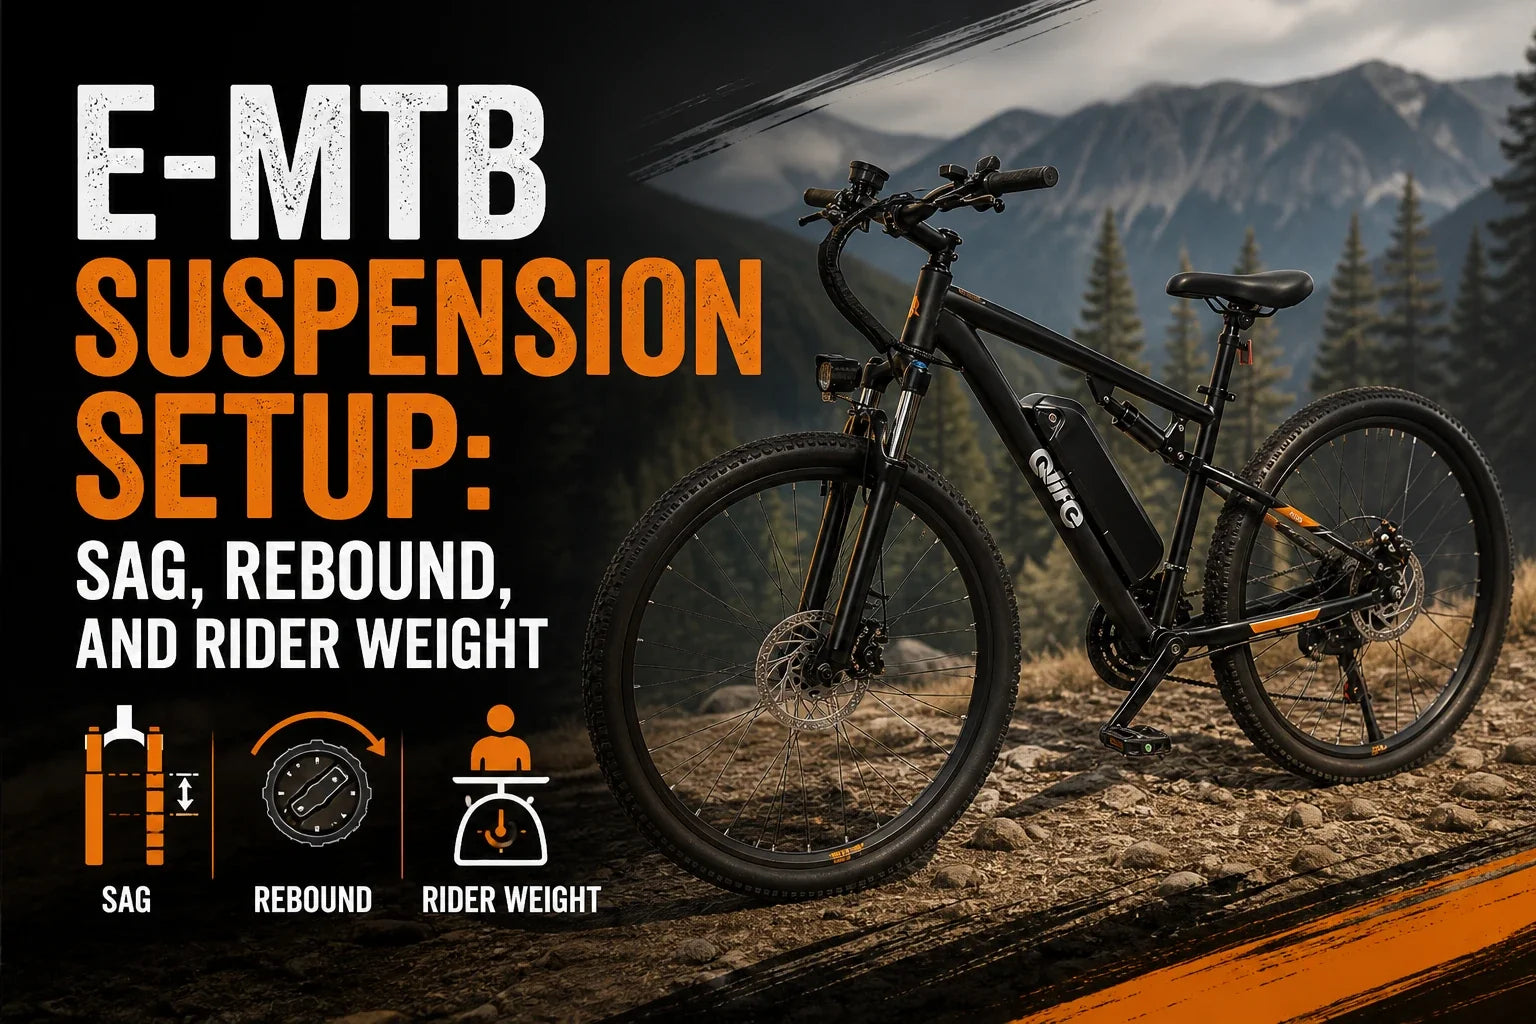
Setting up suspension on an electric mountain bike isn't the same as setting up a regular MTB. I've watched too many riders plug their body weight into a calculator, set 30% sag, and then wonder why the fork dives hard on steep descents or the rear shock feels harsh on chunk. The motor and battery add 15 to 20 pounds up front, the bike sits differently under power, and your carry weight (pack, water, tools, helmet) matters more than most setup guides admit.
Here's what I've learned: suspension setup on an e-MTB has to account for the extra mass, the way the motor shifts weight under load, and the faster speeds you're carrying into rough sections. You can't just follow a regular MTB calculator and call it done. You need rider-plus-gear weight, a controlled test loop, and a way to track what you changed so you can go back when something makes it worse instead of better.

Why E-MTB Suspension Is Different
Three things change when you move from a regular MTB to an e-MTB:
- Extra weight: Motor and battery add 15-20 pounds, mostly up front. That changes how the suspension reacts to braking, cornering, and compressions.
- Higher speeds: E-MTB assist means you're hitting rough sections faster than you would on a regular bike. The suspension sees bigger impacts at higher frequencies.
- Weight distribution: Most e-MTBs sit around 60/40 rear-to-front weight bias (more weight on the rear than a regular MTB). The front carries motor mass, the rear carries battery mass and rider weight. You need to balance this with your setup.
If you ignore these three factors and set up like a regular MTB, you'll end up with a fork that dives too much and a shock that feels harsh. I've seen it dozens of times.
The short version: start with manufacturer baselines, measure sag with all your gear on, set rebound and compression from a known position, ride a repeatable test loop, change one thing at a time, and write it down. If you skip the documentation, you'll be chasing your tail for months. I've been there.
E-MTB Suspension Setup: The Safe Order
Here's the order that keeps you out of trouble. Skip a step and you'll spend the next five rides trying to figure out which adjustment actually helped.
- Identify your components - Fork model, shock model, travel, stroke, air or coil spring, current service condition
- Check service condition - Clean stanchions, no leaks, smooth stroke, correct service intervals met
- Measure rider-plus-gear weight - You, plus helmet, pack, water, tools, protective gear (not just body weight)
- Set fork and shock air pressure or spring rate - Use manufacturer calculator or manual as baseline
- Measure sag - With riding position, repeated measurements, O-ring method
- Set rebound - Start from manufacturer guidance, count clicks from a known position
- Set compression and platform - Open mode for descents, firm for climbs, never lock out while descending
- Ride a controlled test loop - Same route, same speed, same features, one variable per pass
- Record everything - What you changed, what improved, what got worse, conditions, tire pressure
- Iterate carefully - One click at a time, validate with another test loop pass
This isn't exciting. It's methodical. That's the point. Suspension setup is detective work, not inspiration. You change one thing, see what it does, write it down, and move forward. The riders who skip the worksheet are the ones still complaining about their setup six months later.
Before Adjusting Anything
Don't touch a dial until you know what you're working with. I've seen riders spend an hour adjusting rebound on a fork that needed a lower-leg service three months ago. Fresh oil and clean seals matter more than perfect click counts.
Start with this inventory:
Fork:
- Model and year (check the decals or serial number)
- Travel (120mm, 140mm, 150mm, 160mm, etc.)
- Air spring or coil spring
- Service condition (when was the last lower-leg service and full damper service?)
- Current rebound and compression click positions (count them now, before you forget)
Shock:
- Model and year
- Stroke length (check the shock body or manual)
- Air spring or coil spring (if coil, note the spring rate)
- Service condition (last air can service, last damper service)
- Current rebound and compression settings
Bike and tires:
- Correct tire pressure for your weight and terrain
- Proper torque on shock and fork bolts (check the manual, don't guess)
- Brakes working properly (bad brakes will mess up your test loop data)
- Chain, drivetrain, and motor function normal
When to stop and visit a technician:
- Fork or shock leaking oil
- Rough or notchy stroke feel
- Clunking or play in the linkage or headset
- Service intervals overdue (typically 50 hours lower leg, 200 hours damper, but check your manual)
- Any modification requiring internal hardware changes (volume spacers, spring swaps on coil shocks)
Suspension service isn't expensive compared to replacing a blown fork or shock. If you're not sure, take it to someone who is. I'd rather pay for a service than ride a fork that's about to grenade.
Measure Rider-Plus-Gear Weight
Body weight alone is a lie. When you step on a scale in your underwear, you're not measuring what the suspension sees on the trail. You're missing the helmet, the pack, the water, the tools, the knee pads, and the jacket you're wearing because it's 50 degrees at the trailhead.
What to include:
- Helmet
- Pack or hip pack (loaded with what you actually carry)
- Water bottles or hydration bladder (full, not empty)
- Spare tube, pump, multitool, patch kit
- Phone, keys, snacks
- Protective gear (knee pads, elbow pads, body armor if you wear it)
- Jacket or extra layer if you typically ride with one
Get on a bathroom scale fully geared up. Write that number down. That's your rider-plus-gear weight. Use that number in any suspension calculator or manual chart, not your body weight. The difference is usually 8 to 15 pounds. On a 160-pound rider, that's nearly 10% more load on the suspension. Ignore it and your sag will be too soft, your fork will dive too much, and your shock will blow through travel too easily.
I've set up suspension for riders who swore they were 170 pounds and then weighed in at 185 with gear. The calculator settings were way off. Measure accurately or don't bother setting up at all.
Set Fork and Shock Sag
Sag is how much the suspension compresses under your weight when you're in riding position. It's the starting point for everything else. Get sag wrong and nothing downstream will feel right, no matter how carefully you adjust rebound or compression.
Fork sag process:
- Slide the O-ring down to the wiper seal (or use a zip tie if your fork doesn't have one)
- Stand next to the bike in your gear (helmet, pack, everything)
- Get on the bike in your normal riding position (attack position, not sitting on the saddle)
- Weight the fork smoothly (don't bounce or pump, just settle into position)
- Step off carefully without adding extra weight to the fork
- Measure the O-ring position against the stanchion markings or with a ruler
- Repeat this three times and average the measurements (consistency matters)
Rear shock sag process:
- Slide the O-ring down to the air can or shock body
- Get on the bike in riding position (again, attack position, not seated)
- Have a helper stabilize you or lean against a wall (you need to be relaxed, not tensed up)
- Step off carefully
- Measure O-ring position against shock stroke
- Repeat three times, average the results
Target sag ranges (manufacturer-specific, but common guidelines):
- Fork: 15-20% for XC/trail, 20-25% for enduro/aggressive trail, 25-30% for downhill/park
- Shock: 25-30% for trail, 30-35% for enduro, 35-40% for downhill
Don't chase exact numbers. A 160mm fork at 20% sag is 32mm. If you're at 30mm or 34mm and the bike feels good, you're done. Sag is a starting point, not a law.
If sag is too much (more than target):
- Add 5-10 psi to the fork or shock, remeasure sag, repeat until you're in range
If sag is too little (less than target):
- Remove 5-10 psi, remeasure sag, repeat until you're in range
For coil shocks, you change the spring rate instead of air pressure. That's a shop job unless you have the tools and know-how. Don't guess on coil spring rates.
Baseline pressure reference (for air suspension):
These are typical starting pressures for e-MTBs. Always use your fork and shock manufacturer's specific calculator or manual as your primary source:
| Rider + Gear Weight | Fork Baseline (approx.) | Shock Baseline (approx.) |
|---|---|---|
| 150-170 lb | 75-90 psi | 170-190 psi |
| 170-190 lb | 85-100 psi | 185-210 psi |
| 190-210 lb | 95-110 psi | 200-225 psi |
| 210-230 lb | 105-120 psi | 215-240 psi |
These are starting points only. E-MTBs typically require 10-20% more pressure than regular MTBs at the same rider weight due to the extra bike mass. Your actual numbers will vary based on fork/shock model, travel, riding style, and terrain.
Write down your final pressure and sag measurements. You'll need them when the weather changes or you add more gear.
Set Rebound
Rebound controls how fast the suspension extends after it's been compressed. Too slow and the suspension packs down on repeated hits (it can't recover fast enough). Too fast and the bike feels bouncy, skittish, and harsh because the wheel is leaving the ground after every bump.
Direction check (this varies by brand):
- Most forks and shocks: clockwise = slower (more damping), counterclockwise = faster (less damping)
- Some brands (older RockShox): reversed
- Check your manual, don't guess
Starting point:
- Count the total number of rebound clicks from full slow to full fast (don't force it at the stops)
- Set rebound to the middle of the range or follow the manufacturer's recommended starting clicks for your weight
- If the manual says "12 clicks from full slow for 180 lb rider," count carefully and write it down
- Most fork and shock manufacturers (Fox, RockShox, specialized) publish setup guides and calculators based on rider weight and bike type. Use those as your baseline before making changes.
Test for rebound speed:
- Find a curb or parking block about 6 inches high
- Roll up to it slowly, weight the front or rear, and let the suspension compress over the edge
- Watch how fast the wheel returns after the compression
Too slow: The suspension sags and stays compressed, especially after 2-3 bumps in a row. It feels dead, packed down, and harsh because you're using less and less available travel. Speed up rebound by 2-3 clicks (counterclockwise on most forks) and retest.
Too fast: The wheel rebounds so quickly it feels like it's hopping or bucking. The tire may leave the ground. The bike feels nervous and skittish. Slow down rebound by 2-3 clicks (clockwise) and retest.
About right: The suspension returns smoothly and controllably, ready for the next hit without packing down or bouncing. It feels calm and composed.
Make small changes. One or two clicks can be the difference between perfect and terrible. If you're not sure, err on the side of slightly slower rebound. Packing is annoying, but bouncing is dangerous.
Write down your final rebound settings (fork and shock, counted from a known position). You'll thank yourself later.
Set Compression and Platform Controls
Compression damping controls how fast the suspension compresses when it hits a bump. Low-speed compression affects how the bike handles body weight, cornering, and braking forces. High-speed compression affects how the suspension reacts to sharp-edged hits like rocks and roots.
Most modern forks and shocks have these controls:
- Open mode: Minimum damping, full sensitivity, best for descending rough terrain
- Trail or medium mode: Some platform support for pedaling, still sensitive enough for small bumps
- Firm or climb mode: Significant platform support, reduces bob and dive, not ideal for rough descending
- Lockout (if present): Maximum damping, essentially locked solid, only for smooth climbs or pavement
Safe defaults:
For trail riding and descending, start in open mode on both fork and shock. You want the suspension to move freely and react to the terrain. Compression damping is there to control the speed of compression, not to lock the bike out.
For climbing smooth fire roads or pavement, you can switch to firm or trail mode to reduce pedal bob. Just remember to switch back to open before you hit rough terrain.
Never lock out the suspension while descending rough terrain. I've seen riders forget they had the shock in firm mode, hit a big rock garden, and blow through all their travel because the damping couldn't control the impact speed. It's harsh, it's dangerous, and it can damage the shock.
If your fork or shock has separate low-speed and high-speed compression adjusters, start from the manufacturer's recommended settings. Those require more nuanced tuning and are beyond the scope of a basic setup guide. Get the basics right first.
Bottom-Out, Volume Spacers, and Spring Limits
Bottom-out is when you use 100% of your suspension travel and the fork or shock hits its internal stop. A light bottom-out once in a while on a big hit is fine. That's what the travel is for. Frequent hard bottom-outs mean you need more support in the mid-to-end stroke.
How to check travel use:
After a typical ride on your normal terrain, look at the O-ring position on your fork and shock. If you're using:
- 70-80% of travel regularly: You're in the sweet spot
- 60-70% of travel: You might benefit from slightly less pressure or faster rebound (you're leaving performance on the table)
- 90-100% of travel, frequent hard bottom-outs: You need more air pressure, more progression, or volume spacers
Volume spacers (air forks and shocks):
Volume spacers reduce the volume inside the air chamber, making the air spring more progressive (it ramps up harder toward the end of the stroke). Adding a spacer makes it harder to bottom out without increasing sag. Removing a spacer makes the spring more linear and easier to use full travel.
This is something you can do yourself if you're comfortable with basic suspension work, but it requires opening the air chamber. Check your fork or shock manual for the procedure and spacer compatibility. If you're not sure, let a technician handle it.
Coil spring changes:
If you have a coil shock and you're bottoming out frequently, you need a stiffer spring rate. If you can't get enough sag without going way over the recommended pressure (air shocks) or you're nowhere near bottom-out even on big hits (coil shocks), you might need a softer spring.
Coil spring swaps are a shop job. The spring rate has to match your weight, riding style, and bike leverage ratio. Don't guess.
The Qlife E-MTB Setup Worksheet
Here's the part where you stop winging it and start keeping records. I know it feels like homework. It is homework. It's also the difference between dialing in your suspension in three rides versus spending six months randomly clicking things and hoping.
The worksheet tracks:
| Field | Your Data |
|---|---|
| Bike Information | |
| Bike model and year | |
| Fork model, travel, service date | |
| Shock model, stroke, service date | |
| Tire pressure F / R | |
| Rider Information | |
| Body weight | |
| Rider-plus-gear weight | |
| Riding style / terrain focus | |
| Baseline Settings | |
| Fork air pressure (psi) | |
| Fork sag (mm and %) | |
| Fork rebound (clicks from full slow) | |
| Fork compression mode | |
| Shock air pressure (psi) | |
| Shock sag (mm and %) | |
| Shock rebound (clicks from full slow) | |
| Shock compression mode | |
| Test Conditions | |
| Date and time | |
| Temperature | |
| Trail / test loop name | |
| Surface conditions (dry, wet, loose) | |
| Performance Notes | |
| Travel used F / R (from O-ring) | |
| Bottom-outs? (Y/N, where) | |
| Harsh or packing? | |
| Front/rear balance | |
| Diving or wallowing? | |
| Overall feel | |
| Changes Made | |
| What I changed | |
| Why I changed it | |
| Result (better, worse, neutral) | |
| Final Settings | |
| Fork pressure, sag, rebound, compression | |
| Shock pressure, sag, rebound, compression | |
| Validated on (date) |
Keep this worksheet in your phone, in a notebook, or in a spreadsheet. Update it every time you change something. When you find a setup that works, you'll have a complete record. When the seasons change or you switch between trail and park riding, you'll have a baseline to adjust from instead of starting over.
I've watched riders dial in perfect suspension on a 60-degree day, then go ride in 90-degree heat and wonder why everything feels soft. The air pressure changes with temperature. If you wrote down your cold-weather setup, you know exactly how much to add for summer.
Three-Pass Test Loop Protocol
Random trail rides are fun, but they're terrible for suspension tuning. You need a controlled test loop where you can repeat the same features at the same speed and isolate what each adjustment actually does.
Pick a test loop that has:
- A braking bump section (small repeated bumps, like a fire road with washboard)
- At least one corner (flat or bermed)
- A short climb (steep enough to feel pedal bob)
- A small compression or g-out (smooth transition, not a sharp hit)
- A short technical descent (roots, rocks, or rough trail)
- 3-5 minutes total ride time (long enough to feel the suspension, short enough to repeat quickly)
Three-pass protocol:
Pass 1 - Baseline validation:
Ride the loop at normal speed with your current settings. Pay attention to:
- Where the suspension feels harsh, soft, or uncontrolled
- How much travel you're using (check O-rings afterward)
- Front/rear balance (does the front dive too much, does the rear wallow?)
- Any bottoming or packing
Stop after the loop. Write down what you felt. Don't change anything yet.
Pass 2 - Single variable change:
Change ONE thing. Not two things. Not three things. One thing. If you think the fork is diving too much on braking bumps, add 5 psi to the fork. Nothing else.
Ride the exact same loop at the exact same speed. Compare the feel to pass 1. Did the change help? Did it make something else worse? Did it do nothing?
Stop. Write down the result.
Pass 3 - Confirmation:
If pass 2 was better, keep the change and ride a third lap to confirm. If pass 2 was worse, revert the change and try something else.
The key is: one variable at a time. If you add fork pressure AND slow down rebound AND change compression mode all at once, you have no idea which change actually helped. You're guessing. Suspension tuning is not guessing. It's iteration.
Don't try to fix multiple problems in one session. If your fork is diving and your shock is harsh and your rebound is packing, pick the biggest problem first. Fix that. Ride a couple of normal trails. Come back and fix the next one.
Symptom-to-Adjustment Matrix
When something feels wrong, here's where to start. This is not a complete diagnostic (that would require a book), but it'll get you pointed in the right direction.
| Symptom | Possible Cause | First Check | When to Get Help |
|---|---|---|---|
| Fork/shock feels harsh, transmits every bump | Too much air pressure, rebound too fast, compression too firm | Reduce pressure 5 psi, slow rebound 2 clicks, switch to open compression mode | If harsh feel persists after adjustments, check for blown seal or insufficient oil |
| Suspension feels soft, wallows through travel, uses too much sag | Too little air pressure, rebound too slow, worn seals | Add pressure 5 psi, speed up rebound 2 clicks | If adding 20+ psi doesn't fix it, service is overdue or seals are blown |
| Packing down on repeated hits, feels dead | Rebound too slow | Speed up rebound 2-3 clicks, retest on repeated bump section | If wide-open rebound still packs, damper needs service |
| Bouncing or bucking after compressions, tire leaves ground | Rebound too fast | Slow down rebound 2-3 clicks | If full-slow rebound still bounces, damper needs service or volume spacer adjustment |
| Fork dives hard on braking or steep sections | Not enough low-speed compression, too little air pressure, sag too high | Add 5 psi, reduce sag to lower end of range, switch to trail compression mode | If dive persists with correct sag, consider volume spacer |
| Frequent hard bottom-outs | Too little air pressure, not enough progression, insufficient volume spacers | Add 10 psi, recheck sag, test again | If bottom-outs continue at correct sag, add volume spacer or visit technician |
| Front and rear feel unbalanced (one harsh, one soft) | Mismatched sag or rebound settings front/rear | Measure sag on both ends, check rebound balance (front should be slightly faster than rear) | If balance is off after matching settings, check linkage pivot condition |
| Clunking, play, or rough spots in stroke | Worn bushings, loose hardware, contaminated or insufficient oil | Don't adjust. Take to technician immediately. | This is not a tuning problem, it's a service or repair problem. |
If you work through these checks and the problem persists, stop. You're either dealing with worn seals, low oil, damaged bushings, or a problem that requires internal service. Continuing to adjust external settings won't fix an internal problem.
Frequently Asked Questions
What sag should I run on my e-MTB?
Start with 20-25% on the fork and 28-32% on the shock for trail riding. E-MTBs carry more weight up front (motor and battery), so you might need slightly firmer fork settings than you'd run on a regular MTB at the same body weight. Measure sag with your riding gear on, not just body weight.
How does my weight affect suspension setup?
Heavier riders need more air pressure or stiffer springs to achieve the same sag percentage. Lighter riders need less. Always use rider-plus-gear weight (you with all your equipment), not just body weight, when consulting manufacturer pressure charts or online calculators.
Is setting up suspension different on an e-MTB versus a regular MTB?
Yes. E-MTBs are heavier (especially up front), you're carrying more speed into rough sections, and the motor can mask poor suspension setup because it powers through problems a regular MTB would expose. You need to account for the extra mass and tune for higher impact speeds. The process is the same, but the baseline pressures and settings are usually firmer.
How do I know if my rebound is set correctly?
Push down on the fork or shock and watch it return. It should extend smoothly and controllably, not so slow that it stays compressed and not so fast that it bounces. On the trail, properly set rebound keeps the suspension ready for the next hit without packing down or bucking.
Why does my suspension setup feel different in hot weather?
Air pressure increases with temperature. Your 150 psi fork at 50 degrees might be 160 psi at 90 degrees. That's enough to change the feel noticeably. Check and adjust pressure based on conditions. Some riders keep separate summer and winter setup sheets.
When should I get my suspension serviced?
Follow manufacturer service intervals. Typically that's a lower-leg service every 50 hours and a full damper service every 200 hours, but check your manual. If you're riding in wet or muddy conditions, service more often. Worn seals and low oil will make tuning impossible.
Qlife Racer Ultra: Full-Suspension E-MTB Setup Example
Want a full-suspension e-MTB to practice these setup principles? Qlife's Racer Ultra is a step-over full-suspension eMTB with front and rear suspension, a peak 1200W motor, and 27.5 x 2.1 inch all-terrain tires. It's listed at $549-559, weighs 48.1 pounds, and comes with a 21-speed Shimano drivetrain.
The Racer Ultra uses front hydraulic fork suspension and rear linkage suspension. You'll follow the same sag, rebound, and compression setup steps outlined in this guide.
Example setup for 180 lb rider:
Let's say you're a 180 lb rider with 10 lb of gear (helmet, pack, water, tools) = 190 lb total rider-plus-gear weight.
Racer Ultra bike weight: 48.1 lb
Total system weight: 190 lb rider + 48.1 lb bike = 238.1 lb
Baseline starting pressures (example):
- Fork: Start around 95-100 psi
- Shock: Start around 205-215 psi
Measure sag with all your gear on. Target 20-25% fork sag (if you have 100mm travel, that's 20-25mm of sag) and 28-32% rear sag. Adjust pressure up or down by 5-10 psi until you hit your target sag range.
Set rebound from the manufacturer's recommended position for your weight. If not specified, start at the middle of the rebound range (count total clicks, divide by two).
Use the three-pass test loop to validate your changes. The Racer Ultra's 48.1 lb weight is lighter than many full-suspension e-MTBs (some exceed 55-60 lb), but it still carries more mass than a regular MTB. Factor that into your air pressure calculations and expect to run slightly firmer settings than you would on a non-electric bike.

Final Setup Advice
Suspension setup is patient, methodical work. You're not chasing a magic setting. You're finding the balance between support, sensitivity, and control that works for your weight, your terrain, and your riding style. That balance changes with conditions, load, and wear.
Start with manufacturer baselines (consult your fork and shock manuals or online setup calculators from Fox, RockShox, or your bike manufacturer), measure sag with all your gear on, set rebound and compression from known positions, ride a controlled test loop, change one variable at a time, and write everything down. If you skip the worksheet, you'll be starting over every ride.
The riders who nail their suspension setup are the ones who keep records and stay methodical. The riders who never dial it in are the ones who twist things randomly and hope for improvement.
Take the time. Do it right. Your suspension will reward you with better control, more confidence, and fewer days where you come home beaten up wondering why the bike felt terrible.
Technical review note: The suspension setup procedures in this guide follow manufacturer best practices for air-sprung fork and shock systems. For specific adjustment procedures, torque specifications, service intervals, and model-specific baseline settings, always consult your fork and shock manufacturer manuals. This guide provides general e-MTB setup methodology; your specific components may have different adjustment ranges, click counts, or service requirements.
For more e-MTB guidance, read our articles on what is a full-suspension e-bike, hardtail vs full-suspension e-MTBs, best full-suspension e-bikes, and are e-MTBs good for beginners.
Share:
Folding Ebike Buying Guide: Size, Weight, and Transport
Electric Trike Buying Guide for Seniors and Limited Mobility